Mastering the 3D Tank Cracked Hole Tumbler 17 Design for Professional Sublimation Results
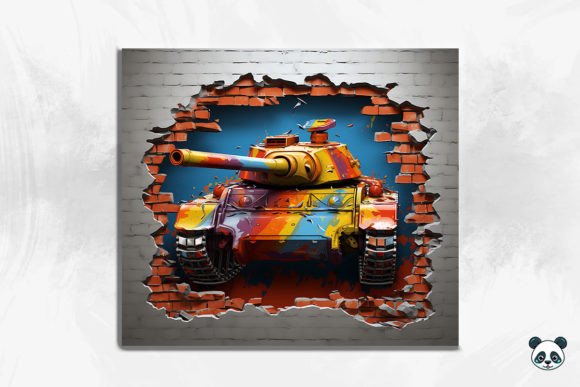
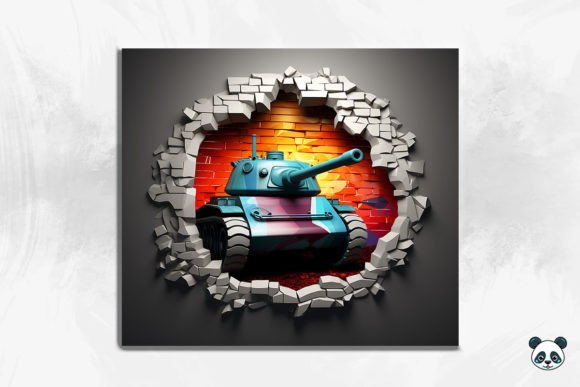
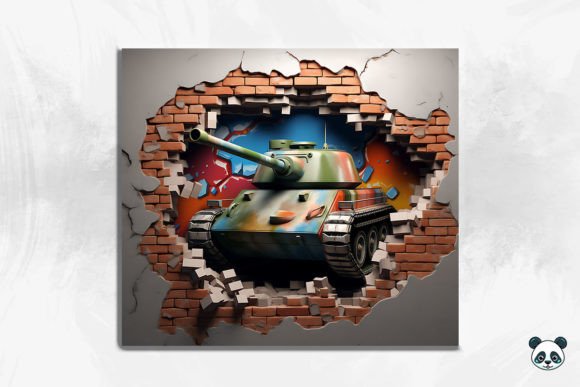
The demand for personalized drinkware has surged, with creators constantly seeking unique designs that stand out in a saturated market. Among the trending options is the 3D Tank Cracked Hole Tumbler 17, a striking visual concept that combines military aesthetics with modern 3D rendering techniques. This specific design features a realistic tank motif integrated with a cracked hole effect, creating an illusion of depth and texture on a straight tumbler wrap. For entrepreneurs, hobbyists, and small business owners, understanding how to properly utilize this digital asset is crucial for producing high-quality, sellable products. However, many beginners overlook critical technical details, leading to wasted materials and disappointing results.
Understanding the Digital Asset and Its Potential
The 3D Tank Cracked Hole Tumbler 17 is not merely a static image; it is a carefully crafted sublimation design intended for 20 oz skinny tumblers. The file typically comes as a high-resolution PNG, measuring approximately 9.3 inches by 8.2 inches at 300 DPI. This resolution is vital for ensuring that the intricate details of the tank watercolor elements and the 3D seamless pattern remain sharp after printing. The design leverages a 3D background effect to make the tank appear as though it is breaking through the surface of the tumbler, adding a dynamic visual appeal that flat designs often lack.
Creators are drawn to this style because it appeals to a broad demographic, including military enthusiasts, veterans, and fans of rugged, industrial aesthetics. When applied correctly, the Tank tumbler wrap transforms a standard stainless steel cup into a premium-looking item. However, the gap between downloading the file and achieving a professional finish is where many mistakes occur. Recognizing these pitfalls early can save time, money, and frustration.
Common Mistakes in File Preparation and Printing
One of the most frequent errors involves misunderstanding the nature of the product. It is essential to remember that this purchase is an instant digital download. You will not receive a physical tumbler or a printed wrap. Some buyers mistakenly expect a tangible item, leading to confusion upon delivery. To avoid this, always verify that you have the necessary equipment—specifically a sublimation printer, sublimation ink, and compatible tumblers—before purchasing the design.
Another critical oversight is ignoring the specific dimensions required for a 20 oz skinny tumbler. The provided PNG is sized at 9.3 x 8.2 inches, which is tailored for this specific tumbler shape. Attempting to stretch or compress this image to fit a different tumbler size, such as a 15 oz straight tumbler or a curved mug, will distort the 3D effect. The cracked hole illusion relies on precise proportions; distorting the image breaks the perspective, making the design look flat and unprofessional. Always measure your blank tumbler’s printable area and compare it with the design’s dimensions before printing.
Furthermore, many users neglect to mirror their images before printing. Sublimation printing requires the design to be mirrored horizontally so that it transfers correctly onto the tumbler. Failing to do this results in a reversed image, which is particularly noticeable if the design includes any text or directional elements within the tank seamless pattern. While the 3D Tank Cracked Hole Tumbler 17 may not feature prominent text, the orientation of the tank and the crack effects must align correctly with the viewer’s perspective.
Technical Considerations for High-Quality Output
Color management is another area where beginners often struggle. The vibrant colors seen on your computer screen may not translate directly to the sublimated product due to differences in color profiles between monitors and printers. The tank watercolor elements and the 3D background rely on subtle gradients and shadows to create depth. If your printer settings are incorrect, these nuances can be lost, resulting in a muddy or washed-out appearance. To mitigate this, perform test prints on paper first to check color accuracy. Adjust your printer’s ICC profile if necessary, and ensure you are using high-quality sublimation paper that holds ink without bleeding.
Additionally, the choice of tumbler blank plays a significant role in the final outcome. Not all 20 oz skinny tumblers are created equal. Some have coatings that do not accept sublimation ink evenly, leading to streaks or dull colors. Before committing to a large batch, test the Tank skinny tumbler design on a single blank from your supplier. Ensure the tumbler is clean and free of oils or residues, as these can interfere with the ink transfer. Using a heat press with consistent pressure and temperature is also vital. Inconsistent heat can cause ghosting or uneven coloring, ruining the 3D illusion.
Best Practices for Using the 3D Tank Design
To achieve the best results with the 3D Tank Cracked Hole Tumbler 17, follow these practical steps:
- Verify File Integrity: Upon downloading the ZIP file, ensure the PNG is intact and opens correctly in your design software. Check the resolution to confirm it is 300 DPI.
- Use Appropriate Software: Utilize design programs like Adobe Photoshop, Illustrator, or Canva to handle the PNG file. These tools allow you to preview the design on a tumbler mockup, helping you visualize the final product.
- Mirror and Print: Always mirror the image before printing. Use high-quality sublimation paper and ink, and select the correct print settings for photo-quality output.
- Secure the Wrap: When applying the printed wrap to the tumbler, use heat-resistant tape to secure it tightly. Ensure there are no wrinkles or gaps, as these will cause imperfections in the transfer.
- Optimize Heat Press Settings: Follow the manufacturer’s recommendations for time and temperature. Typically, this involves pressing at around 380°F for 180-200 seconds, but this can vary based on your equipment.
By paying attention to these details, you can elevate the quality of your products. The 3D tumbler wrap concept is powerful, but it demands precision. The cracked hole effect is a sophisticated design element that rewards careful execution. When done correctly, it creates a stunning visual impact that can justify a higher price point and attract more customers.
Evaluating Your Workflow for Efficiency
Beyond the technical aspects, consider your overall workflow. Are you organizing your digital files efficiently? Keeping a well-structured library of your sublimation designs, including the Tank 3D seamless pattern and other assets, can save time when fulfilling orders. Label your files clearly with dimensions and product types to avoid confusion during busy periods.
Moreover, stay informed about trends in sublimation design. The popularity of 3D effects and realistic textures like the Tank background indicates a shift towards more immersive visuals. By mastering these techniques now, you position yourself ahead of competitors who rely on simpler, flat designs. Continuously refine your skills, experiment with different blanks, and seek feedback from customers to improve your offerings.
In conclusion, the 3D Tank Cracked Hole Tumbler 17 offers a compelling opportunity for creators to produce standout drinkware. However, success depends on avoiding common pitfalls related to file handling, printing techniques, and material selection. By approaching this design with a methodical and informed mindset, you can ensure high-quality results that satisfy customers and enhance your brand’s reputation. Remember, the key to great sublimation lies in the details—take the time to get them right, and your efforts will pay off in superior products and increased sales.